Step-by-Step Guide to Replacing Your Kitchen Faucet: DIY Tips for Success
Replacing a kitchen faucet might seem like a daunting task, but with the right tools and guidance, it can be a manageable DIY project. Whether you're upgrading for style, functionality, or to fix a leak, this guide will walk you through each step to ensure success.
In this article, you’ll learn how to prepare for the job, remove the old faucet, and install a new one like a pro. Let’s dive in!
1. Gather Your Tools and Materials
Before you begin, having the right tools and materials on hand will save you from unnecessary stress mid-project. Here’s what you’ll need:
- Adjustable wrench
- Basin wrench (for tight spaces)
- Plumber’s tape
- Bucket or small container (to catch water)
- Cleaning supplies (rag, vinegar, or mild cleaner)
- New faucet and mounting hardware (double-check compatibility with your sink)
Pro Tip: Double-check the number of holes in your sink to ensure your new faucet fits seamlessly.
2. Shut Off Water Supply
The first essential step in any plumbing task is to shut off the water supply. Locate the valves under your sink and turn them clockwise to close. If you don’t have separate shut-off valves, you may need to turn off the main water supply for your home.
Once the water is off, turn on the faucet to release any remaining water and pressure from the lines. Place a bucket under the sink to catch any drips.
3. Remove the Old Faucet
Now that the water is off, it’s time to tackle the old faucet. Follow these steps:
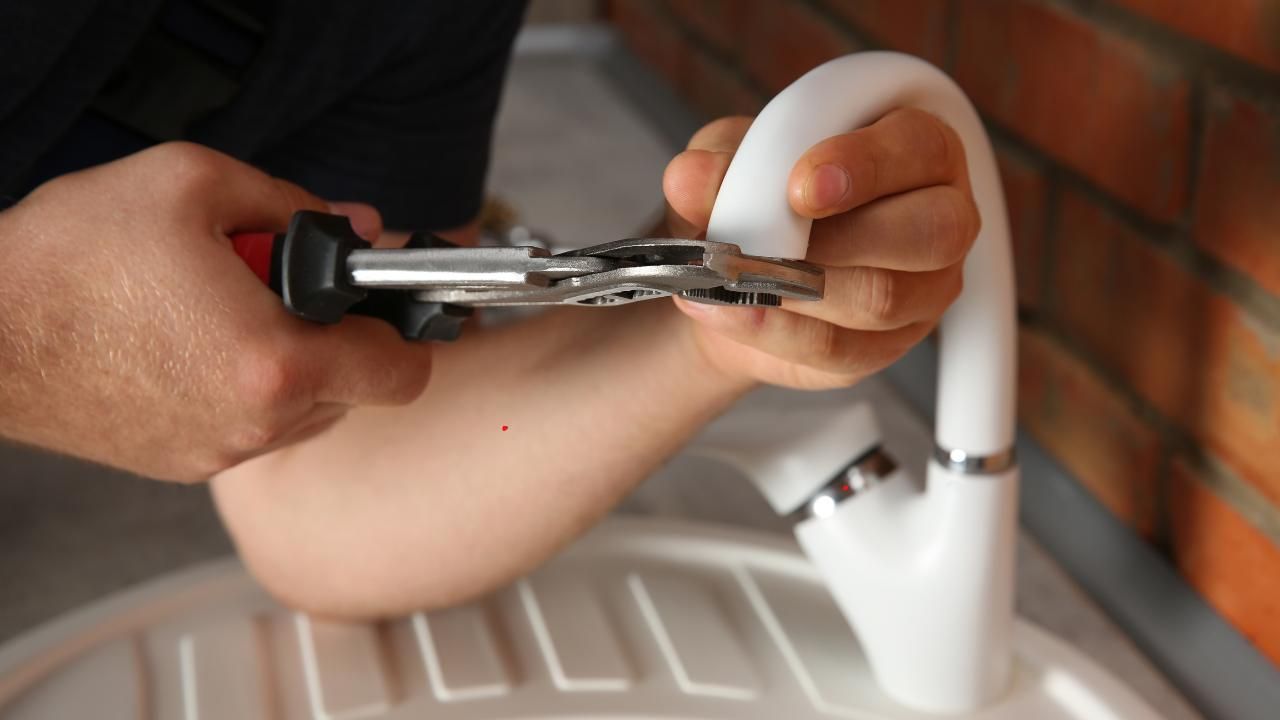
- Disconnect the water supply lines: Use an adjustable wrench to unscrew the supply lines from the faucet.
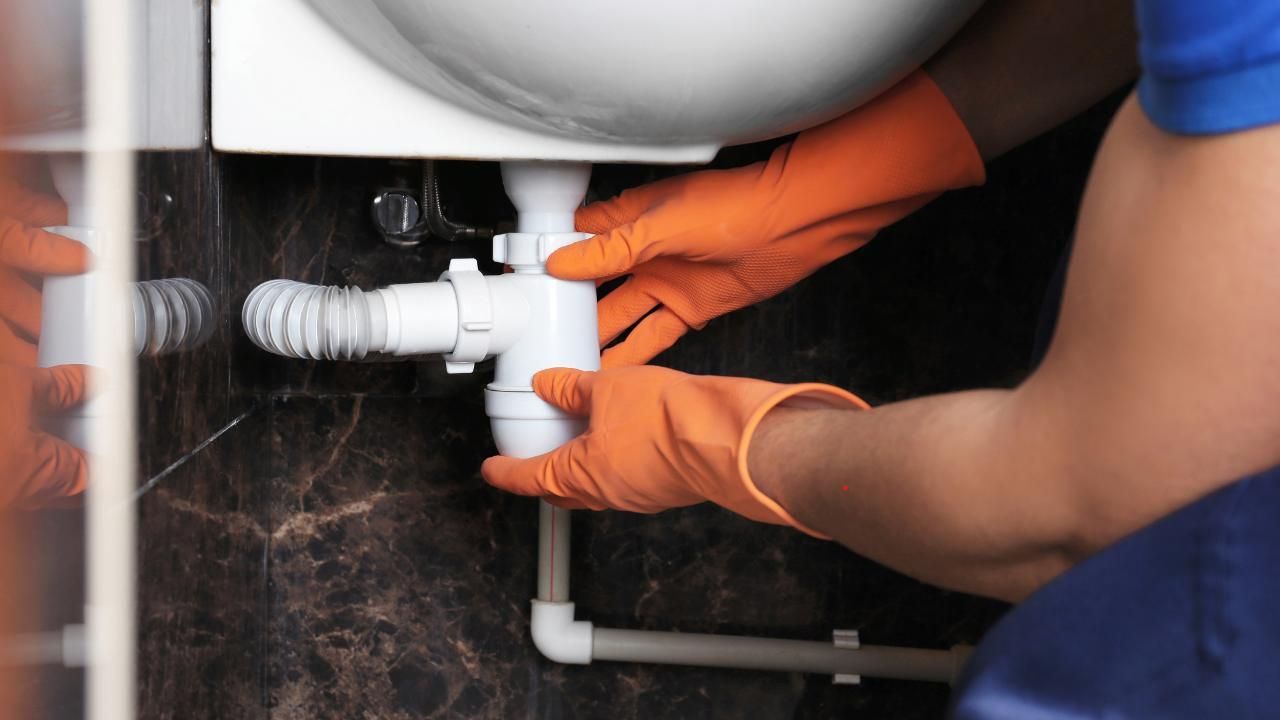
- Loosen mounting nuts: Under the sink, locate the nuts holding the faucet in place. A basin wrench is particularly handy for tight spots.
- Lift out the faucet: Once the nuts are removed, lift the old faucet out of the sink. Be prepared for some gunk buildup underneath.
Clean the sink area thoroughly before installing the new faucet. Removing debris will help create a tight, leak-free seal.
4. Install the New Faucet
Now comes the exciting part—installing your shiny new faucet!
- Insert the faucet: Follow the manufacturer’s instructions to position the faucet into the mounting holes.
- Secure with mounting hardware: From underneath the sink, attach the provided nuts and tighten them to secure the faucet.
- Connect the supply lines: Attach the water supply lines to the faucet and tighten them with your wrench. Don’t overtighten, as this can damage the fittings.
- Apply plumber’s tape: Wrap plumber’s tape around the threaded connections for an added layer of leak protection.
5. Test for Leaks
Once everything is connected, turn the water supply back on and test the faucet. Check for leaks around the base and connections. If you notice any drips, tighten the fittings slightly or reapply plumber’s tape as needed.
Take a moment to admire your handiwork! You’ve successfully replaced your kitchen faucet.
When to Call the Pros
While replacing a faucet is a great DIY project, some situations may require professional help. If you encounter stubborn fittings, damage to the plumbing system, or simply want peace of mind, don’t hesitate to reach out to a trusted plumbing company. Fast Trak Plumbing and Drain offers reliable plumbing services Commerce City CO residents trust for everything from faucet installation to complex repairs.
Final Thoughts
With a little preparation and attention to detail, kitchen faucet replacement can be a rewarding DIY project. Not only can you save money, but you’ll also gain valuable skills for future home improvement tasks.
If you ever find yourself in over your head or need expert assistance, turn to the professional plumbing contractors in Colorado. Our team at Fast Trak Plumbing and Drain is just a call away to help with all your plumbing needs. Gather your tools and take on the challenge of upgrading your kitchen today!
You might also like